The Trail
The total distance of this trail is around 5 miles round trip. However, our GPS somehow only picked up our path to the second peak, which is about 2.2 miles in to that point. This is a difficult trail that should only be attempted by climbers and experienced hikers who are not afraid of heights. This trail requires YDS class 3 and 4 climbs. There is a 1,590 foot elevation change, but there is also more climbing than this due to the up-and-down nature of this trail.
 |
| Topographical Map |
 |
| Graph of Elevation |
 |
| Trail in Google Earth |

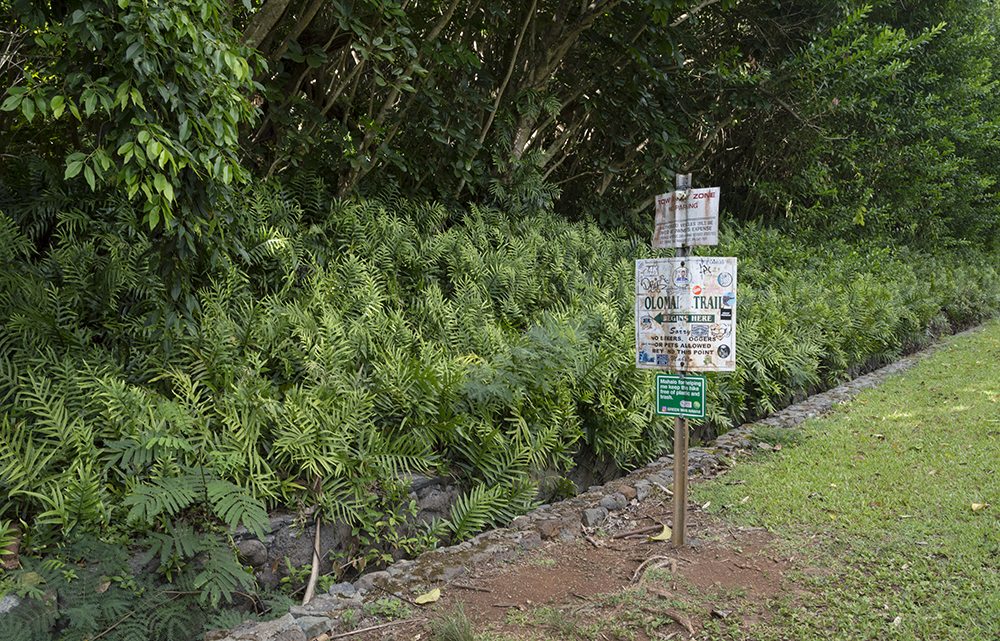
This trail starts on a private road to a golf course, and hikers should plan to park on the street before this road and walk to the trailhead. This distance is included as part of the hiking distance in the information above. As this road rounds a corner, you will pass a guard station. The guard keeps track of how many people do this trail, and he may require you to sign in. You are about half way up the road to the trailhead at the guard station. Keep going until you come to a sign on the left side marking the trailhead. (Do not go past this point unless you are a member of the golf club and thus permitted to do so). This walk to the trailhead is about 0.8 mile long. The first part of the trail involves a steady climb up through the thick foliage, but the trail is clear and easy to follow.
 |
| Guard at gold course |
 |
| Sign marking trailhead |
 |
Small grove of Mexican Weeping Pines
along the trail |
As you continue, the trail grows steeper, and some sections start to require some slight scrambling up rocks. There are ropes in some spots, but we found them unnecessary at this point. In general, you should always avoid relying on ropes more that you have to. These ropes are put up by other hikers, but it is impossible to know how long they have been there or how securely they will hold your weight. Always test them to make sure they will support you before trying to use them, and don't put your full weight on them while climbing unless absolutely necessary. We have seen plenty that have been well worn or half cut through at some point.
 |
As you near the top of the first peak, you can start to get some great
views through the trees |
Next you will come to a large rock that must be scaled in order to reach the first peak. If you are accustomed to climbing, it is not hard to get up, but if you haven't climbed much, you may find it a bit more challenging.
Next you come to some rocks that initially we thought we had to climb up. Then we saw there was an easier, albeit very narrow, path around just to the right.
 |
Instead of climbing up these rocks, you can go
around them on a narrow path |
Next you will arrive at the top of the first peak. The views from every side here are phenomenal and well worth the effort to get there! It is said that the views from here are the best ones out of the three peaks.
 |
| View of the next two peaks from the first |
Many people stop after the first peak, which is fine. However, if you can make it up to the first peak, you shouldn't have any trouble with the second, called
Paku'i, if you want to go on. It looks steep, but as long as it is dry, it is not a difficult climb.
 |
| View of next two peaks from bottom of first |
 |
Nice view of the climb to the top of Paku'i,
the second peak |
 |
| Heading up Paku'i |
 |
| View from the top of Paku'i |
 |
| View of the third peak, Ahiki, from Paku'i |
 |
Looking back at the first peak
from the second |
Things get tricky on the way down the second peak. Some describe this section as the hardest part of the trail. This path is much steeper, and there are not always great footholds along the way. Ultimately, we didn't both make it down before deciding it would be wisest to turn around. I got stuck 20 or so feet from the bottom and couldn't find a foothold. At that point, I don't know if it is possible to get down without relying on the rope. We were nervous after watching our GPS slip and go careening off the cliff and into the brush below. My husband managed to retrieve it after seeing it landed on a ledge, but only after a tricky climb off the trail to get down to it and back up. In any case, we stopped at this point and headed back. Perhaps the fall messed up our GPS track some and for that reason it seemed to not record our way down the second peak...or the GPS's plummet to the ledge just below the trail.
 |
| Path/climb down the second peak |
I would have gotten more pictures of the way down
Paku'i, but it was so steep that after leaving the top I didn't find any good places I felt secure enough to take out my expensive camera for a picture. That was probably wise seeing how we just about lost our GPS...We did grab a couple quick picture from a phone though.
We were sad to not make it to the third peak, but it is good to know your limits when doing this trail. It can be a dangerous one, and a number of people have died or been seriously injured trying to do it. Realize that you can stop and turn back any time, but you do have to return the way you came. Please do not attempt this trail if it is wet or if it looks like it will get wet while you are out on it. Climbing the rocks is particularly dangerous if they are wet and slippery. Wear good shoes with grip to them, bring plenty of water, and plan plenty of time.
There are no restrooms at the trailhead. Do not bring animals on this trail.
Directions
This trail is located on Oahu, Hawaii. To get there, take
Pali Highway/Hwy 61 to Auloa Road. If you are coming from Honolulu, this will be after the tunnel. Turn south onto Auloa Road and find parking along this road as soon as you can. After parking, head back north on the road and take the road that turns left and runs parallel to the highway for a ways. Continue to follow this road to the guard station, around the bend, and to the trailhead. Do not go past the trailhead. GPS coordinates for the parking area: N21 22.575 W157 45.819. GPS coordinates for the trailhead: N21 22.089 W157 45.645


 This trail starts on a private road to a golf course, and hikers should plan to park on the street before this road and walk to the trailhead. This distance is included as part of the hiking distance in the information above. As this road rounds a corner, you will pass a guard station. The guard keeps track of how many people do this trail, and he may require you to sign in. You are about half way up the road to the trailhead at the guard station. Keep going until you come to a sign on the left side marking the trailhead. (Do not go past this point unless you are a member of the golf club and thus permitted to do so). This walk to the trailhead is about 0.8 mile long. The first part of the trail involves a steady climb up through the thick foliage, but the trail is clear and easy to follow.


No comments:
Post a Comment